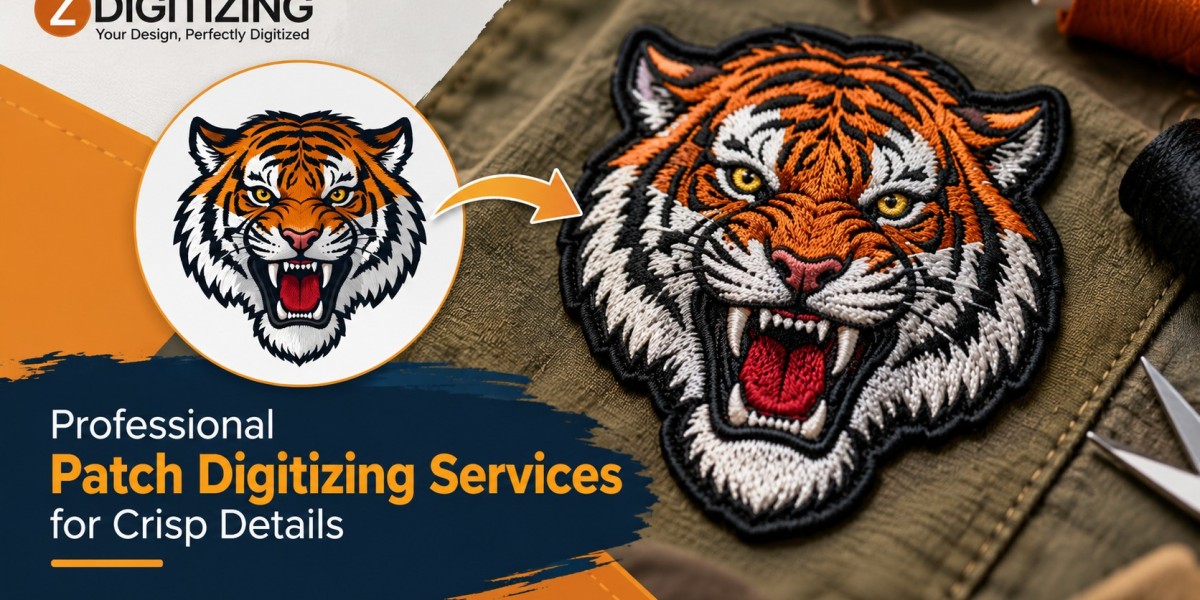

Small patches show every stitching mistake, from a wavy border to lettering that fills in. Our Embroidery patch digitizing Services convert your artwork into stitch files that control coverage, edges, and fine detail before the machine starts sewing.
At ZDigitizing, we prepare patch files from logos, badges, and emblems. This guide explains how professional patch digitizing services work, which stitch decisions shape the finished patch, and what you should send us.
What Are Professional Patch Digitizing Services?
Professional patch digitizing services turn a design into an embroidery file made specifically for patches. The file defines every stitch type, direction, density level, underlay layer, border, and color change, so the machine can sew the patch in the right order.
A patch is stitched on a base fabric such as twill or felt and finished separately from the garment. That makes the file different from one for a logo sewn directly onto clothing. The base, the edge, and the coverage all need to be planned from the start.
Why Does a Patch Need Its Own Stitch Plan?
Three features set patches apart from ordinary garment embroidery:
The base is part of the design. Some patches hide the base completely, while others let it show as a background.
The edge must be finished. A border covers the cut edge and gives the patch a clean outline.
Space is limited. Patches pack lettering and artwork into a small area, so stitch choices have less room for error.
If a design was built for a shirt, it often needs rebuilding before it works as a patch. Density, underlay, and edge treatment are the usual changes.
Which Stitch Decisions Shape the Finished Patch?
Coverage
Full-coverage patches use fill stitches across the entire surface. Partial-coverage patches leave base fabric visible, which lowers stitch count and changes how the design looks. We set coverage according to the style you want.
Underlay
Underlay stitches sit beneath the visible layer. They stabilize the base and keep the top stitches from sinking, which matters most on dense, full-coverage patches.
Pull Compensation
Thread tension pulls fabric inward during stitching. We adjust shapes slightly so circles stay round and borders stay even.
Border Stitching
The border frames the patch and protects the edge. A satin-stitch border is common, and some patches use a merrowed edge applied during finishing. Tell us the style you plan to use, and we will leave the right room at the perimeter.
Lettering
Satin stitches suit bold letters, while very small text can fill in. We may suggest a slightly larger size or heavier line weight to protect readability.
How Do We Digitize a Patch?
Here is our process for a typical patch project:
Review the artwork. We check line weight, text size, color count, and fine detail.
Confirm the patch size and shape. Final dimensions guide every other setting.
Decide coverage. We choose where fills cover the base and where it shows.
Assign stitch types. Fills handle large areas, satins form bold lettering and borders, and running stitches draw thin lines.
Build underlay. Foundation stitches stabilize the base.
Apply compensation. We offset the inward pull of thread tension.
Set the sequence. Large areas sew first, details follow, and the border finishes the edge.
Export the file. We deliver it in the format your machine reads.
How Should You Prepare Your Artwork?
Clean artwork saves revisions. When you request professional patch digitizing services, these steps help:
Send a vector file if possible. Vector shapes stay sharp at any size.
Simplify tiny details. Hairlines and microscopic text rarely stitch well on a patch.
Limit colors. Fewer colors mean fewer stops and a cleaner result.
State the exact size. Patches are small, so even a slight size change affects the file.
Name your border and backing. These choices influence how we plan the edge.
If your image is blurry or jagged, our Vector Art Service can redraw it into clean shapes. Our Convert Image to Embroidery File service also helps with basic image files. For patch-ready stitching, our Embroidery patch digitizing Services take the cleaned artwork from there.
Which Mistakes Cause Poor Patches?
Many patch defects start in the file:
Uneven borders: Weak compensation can leave a wavy or thin edge.
Puckered bases: Too much density without enough underlay warps the fabric.
Gaps between fills and outlines: Pull is not offset in the design.
Unreadable text: Letters are too small or too thin for the patch size.
Crowded details: Narrow gaps between shapes close up under thick thread.
Fixing these problems in the file costs less than discarding finished patches.
When Should You Hire a Professional Instead of Auto-Digitizing?
Auto-digitizing software can handle basic shapes, but patches depend on precise edges and dense coverage. A professional file makes the most sense when:
You are ordering a batch and want every patch to match
Your design includes lettering, small icons, or multiple colors
You plan to sell or distribute patches under your brand
An earlier file produced gaps, puckering, or a messy border
In those cases, professional patch digitizing services can prevent costly reruns.
Which File Format Should You Request?
Machines read specific formats, so confirm yours before ordering:
DST: Common on commercial multi-head machines
PES: Used by Brother and Babylock machines
EXP: Used by Melco machines
JEF: Used by Janome machines
If you are unsure, check your machine's manual. Naming the right format first prevents conversion problems.
What Should You Check Before You Run the Order?
A short review protects the full run:
Size: Does the design match the patch dimensions?
Edge: Does the border cover the base cleanly?
Lettering: Is the smallest text readable?
Density: Does the stitch count suit the base fabric?
Sample: Have you stitched a test patch?
Which Related Services Work With Patches?
Patch projects often connect with other work we handle:
Logo Digitizing for the brand mark at the center of the patch
Applique digitizing for fabric-layered designs
3D Puff Embroidery Digitizing for raised lettering
Cap Logo Digitizing and Hat Digitizing for patches headed to headwear
Jacket back Digitizing and Back & Sleeve Digitizing for larger placements
Each effect needs its own file setup, so tell us the look you want from the start.
Get Your Patch Design Ready for Stitching
A strong patch begins with a file built for its size, edge, and base fabric. If you want help preparing one, ZDigitizing can turn your artwork into a production-ready stitch file. Send us your design and project details, and we will guide you from there.
Before you commit to the full order, stitch one sample patch. A test shows whether your professional patch digitizing services file delivers the coverage, border, and lettering you planned, and our Embroidery patch digitizing Services can adjust the file if anything needs refining.
Frequently Asked Questions
What are professional patch digitizing services?
Professional patch digitizing services convert your artwork into a stitch file made for embroidered patches. We set stitch types, density, underlay, borders, and sequence, then provide the file in the format your machine reads.
Why can't I use a regular logo file for a patch?
A logo file is built to sit on a garment, so it often leaves the fabric showing and has no border. Patches need planned coverage and a finished edge. We rebuild the file so the patch looks complete.
What do I need to send for patch digitizing?
Send a vector file or high-resolution image, the exact patch size and shape, your border style, and your machine's file format. If you request professional patch digitizing services and your artwork is blurry, we can help rebuild it first.
Which machine formats can you provide?
We can prepare common formats such as DST, PES, EXP, and JEF. Tell us which machine you use, and we will provide a compatible file so you can load it without conversion problems.
Why does small text look messy on patches?
Thread has thickness, so tiny letters can fill in and blur together. Bold fonts and slightly larger sizes keep text readable. If your lettering is thin, we can suggest adjustments that preserve the look of your design.